


31 Oct How to Plan an Audiovisual Archive Digitization Project That Lasts
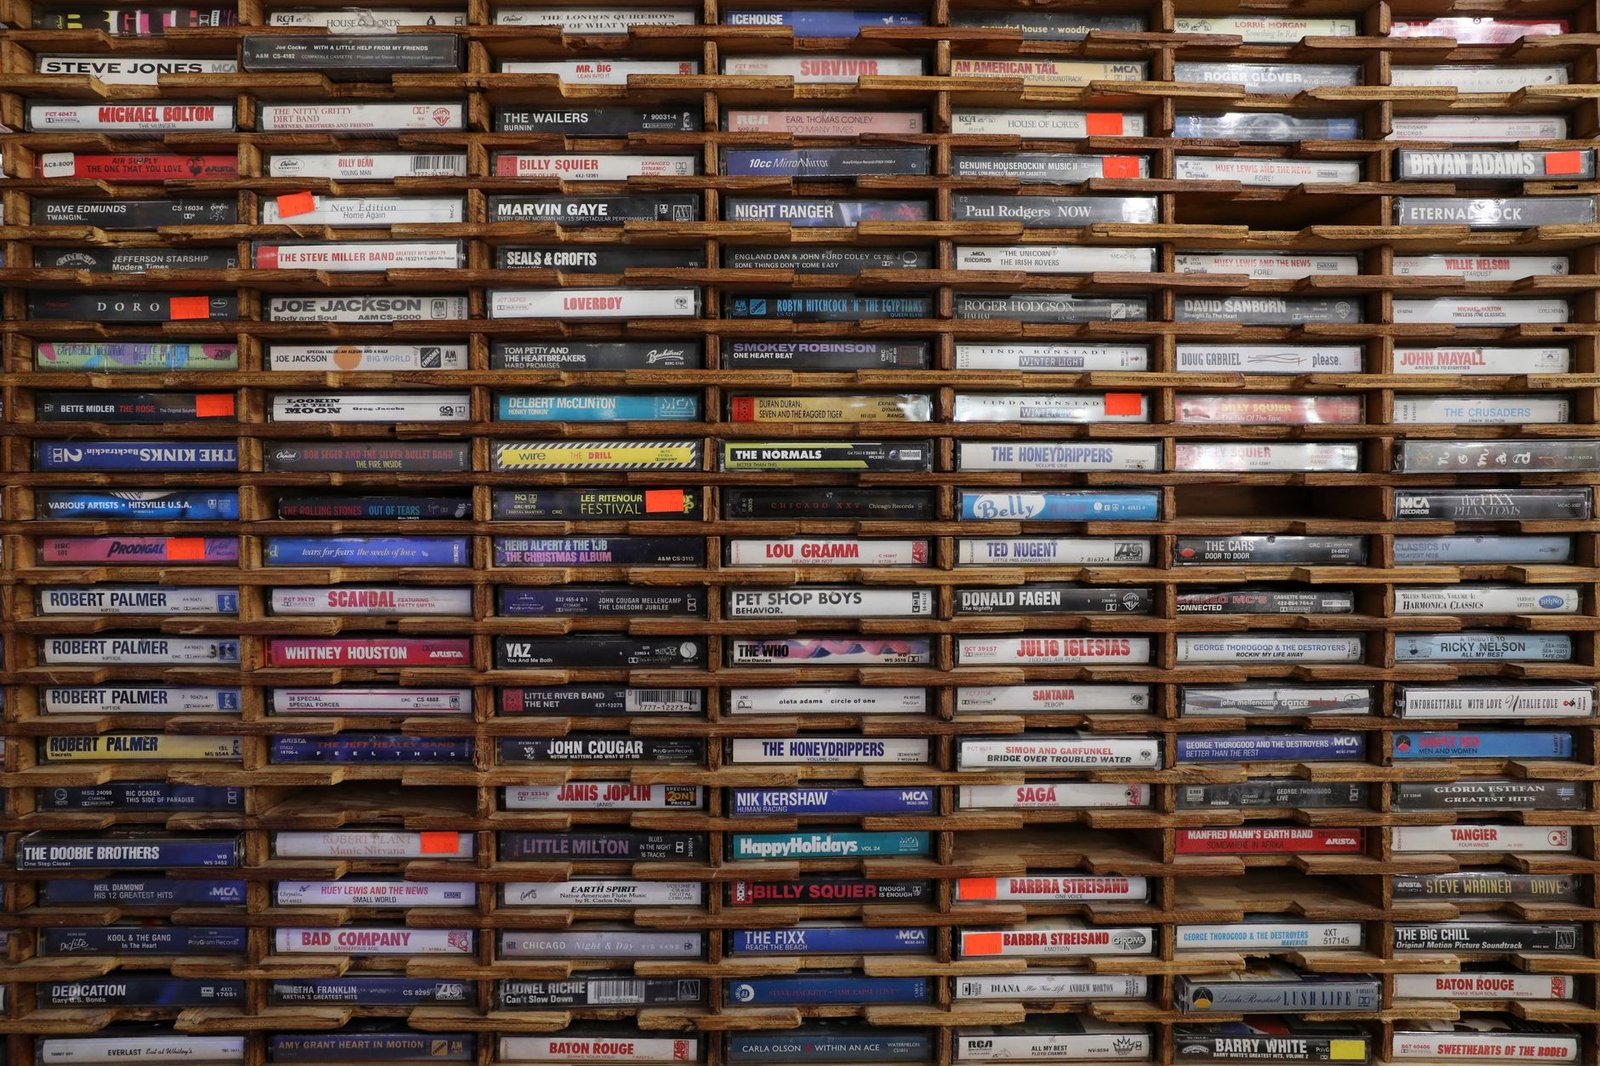
Photo: Mick Haupt on Pexels
As a professional archivist with an MLIS, I get asked the same question about tapes, records and oral-history recordings: where do we start?
Start with the idea that scanning is one step out of nine. UNESCO puts the risk plainly: film reels decay, tapes demagnetize, and digital formats quickly become obsolete. A copy on one hard drive is a copy waiting to fail.
A current example: in Somalia, the Radio Mogadishu Archive holds about 45,000 audio tapes. UNESCO reports over 85 percent still work, about 10 percent have badly deteriorated, and more than 5 percent have been destroyed or critically damaged by fire and other disasters. The archive lacks a full catalogue. The project, supported by the Government of Japan, combines digitization equipment, better facilities, disaster preparedness and training.
Here is how to plan a project that lasts.
1. Count what you have
Make an inventory: format (reel, cassette, vinyl, video), quantity, location, and who made it. You can’t budget what you haven’t counted.
2. Check condition and risk
Sort items by how fast they are deteriorating: mold, sticky or brittle tape, warped discs, formats nobody can play anymore. Note which are rare or irreplaceable.
3. Decide what goes first
Rank by risk and value. Fragile and unique comes before common and stable. Write the reasons down so the next staff member understands.
4. Fix the storage before you start
Cool, dry, stable rooms. Shelving off the floor. Fire and water plans. Clean handling rules. Digitizing tapes that then go back into a damp room just delays the loss.
5. Digitize to a preservation master
Ask for the highest-quality, uncompressed files your format allows, and make smaller access copies from them. Use trained operators and working equipment. Keep notes about every transfer.
6. Describe as you go
Record who is speaking, when, where, in which language, and what the recording is about. Save the information in a shared file or database. Without description, you’ve made a pile of unnamed files.
7. Keep copies in more than one place
Keep at least three copies on at least two kinds of storage, with one in a different location. Check the files on a schedule and move them to new storage as technology changes.
8. Plan access and permissions
Decide who can listen and under what conditions. Talk to speakers or their families about consent, especially for oral history. Respect community rules about sensitive recordings.
9. Train people and budget for years, not a year
Equipment arrives once. Staff, storage fees, and migration cost money every year. A project that lasts has someone assigned to it after the grant ends.
Quick checklist
- Inventory done
- Risks ranked
- Storage fixed
- Preservation masters made
- Descriptions written
- Three copies, two storage types, one off-site
- Access and consent decided
- Staff and yearly budget named
If you have a family collection
Reels, cassettes, VHS tapes and old recordings of relatives deserve the same steps on a smaller scale. Every service I offer starts with a 60-minute Discovery Call where I listen to what you have and say what’s possible and what the right next step is. Book your Discovery Call.